
What is Agar?
Agar (pronounced “ay-gar”) is the nutrient-rich gel that goes in petri dishes to culture/cultivate yeast, bacteria, molds, fungi, etc. Scientific equipment can be expensive, and if you prepare agar “the right way”, you’ll need a decent bit of money for equipment. This method will probably cost you about $15 if you have access to a rice cooker or instant pot.
Please note: this procedure is not ideal, if your project is important then please consider doing it the standard way. I have no formal training in this sort of thing, but this method has worked for me.
Materials and Equipment
Here are all of the materials you will need:
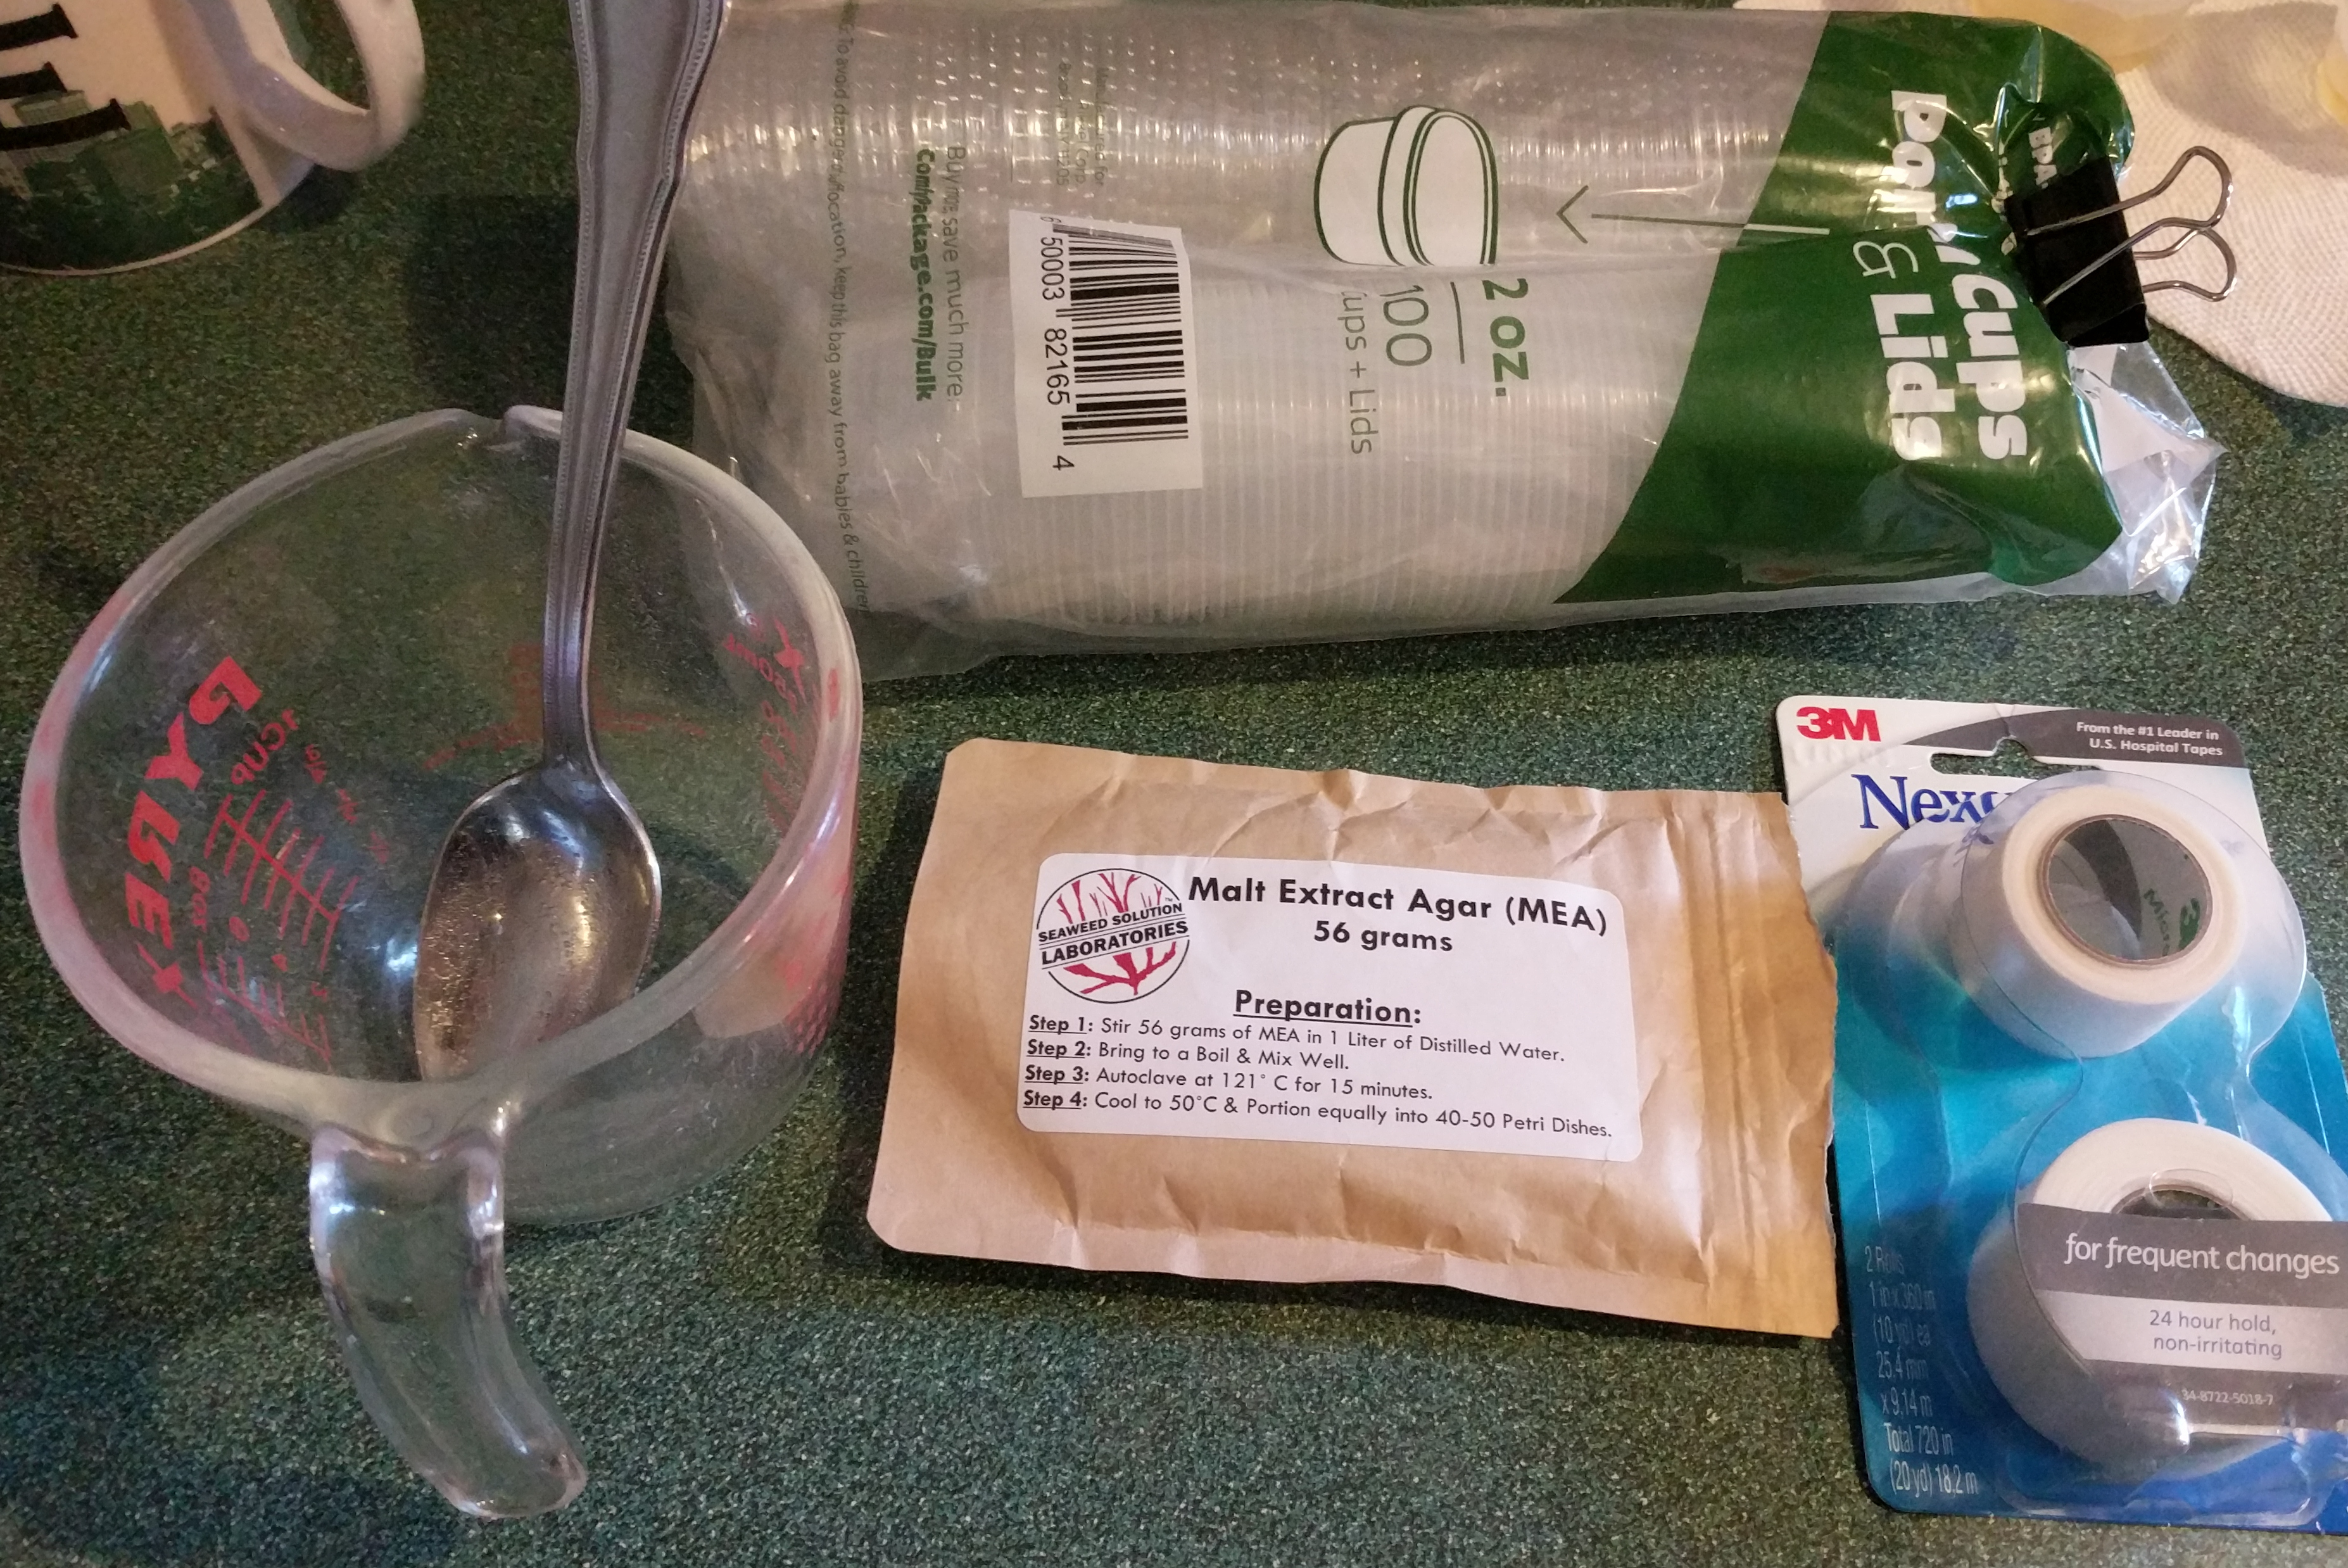
- Agar powder: ~56 grams (~50 condiment cups worth) of Malt Extract Agar (MEA) cost me about $8 on Amazon. Check to see what type is recommended for your type of project.
- Condiment cups: available at virtually every restaurant or in huge packs for cheap online.
- Medical tape: try your local drug store.
Here is all of the equipment you will need:
- Instant Pot/Pressure Cooker: if it is airtight and gets hot it will probably work.
- Trivet: must fit inside pressure cooker to lift cups off the bottom.
- A way to boil water
- Clean mixing vessel
- Something to mix with
- Tupperware: for storage and cooling
- Thermometer (optional but recommended)
Procedure
I highly recommend reading this entire section before starting to do it yourself. The main thing that can go wrong is improper sterilization that can lead to contamination and ruin your plates. Try to keep everything clean and wipe everything down before-hand.
Choose an Amount
How much agar do you need? Do the math and figure out how much water is needed based on the package’s instructions. I only wanted 5 condiment cups so I used 2.3g of MEA powder and 50ml of water.
Mix Agar
Boil water then mix the calculated amounts of water and Agar powder in the mixing vessel. You don’t want to pour it into the condiment cups until it has cooled a bit. The package on my Agar says to do it at 50C, when it stops steaming should be fine though.
Condiment Cups
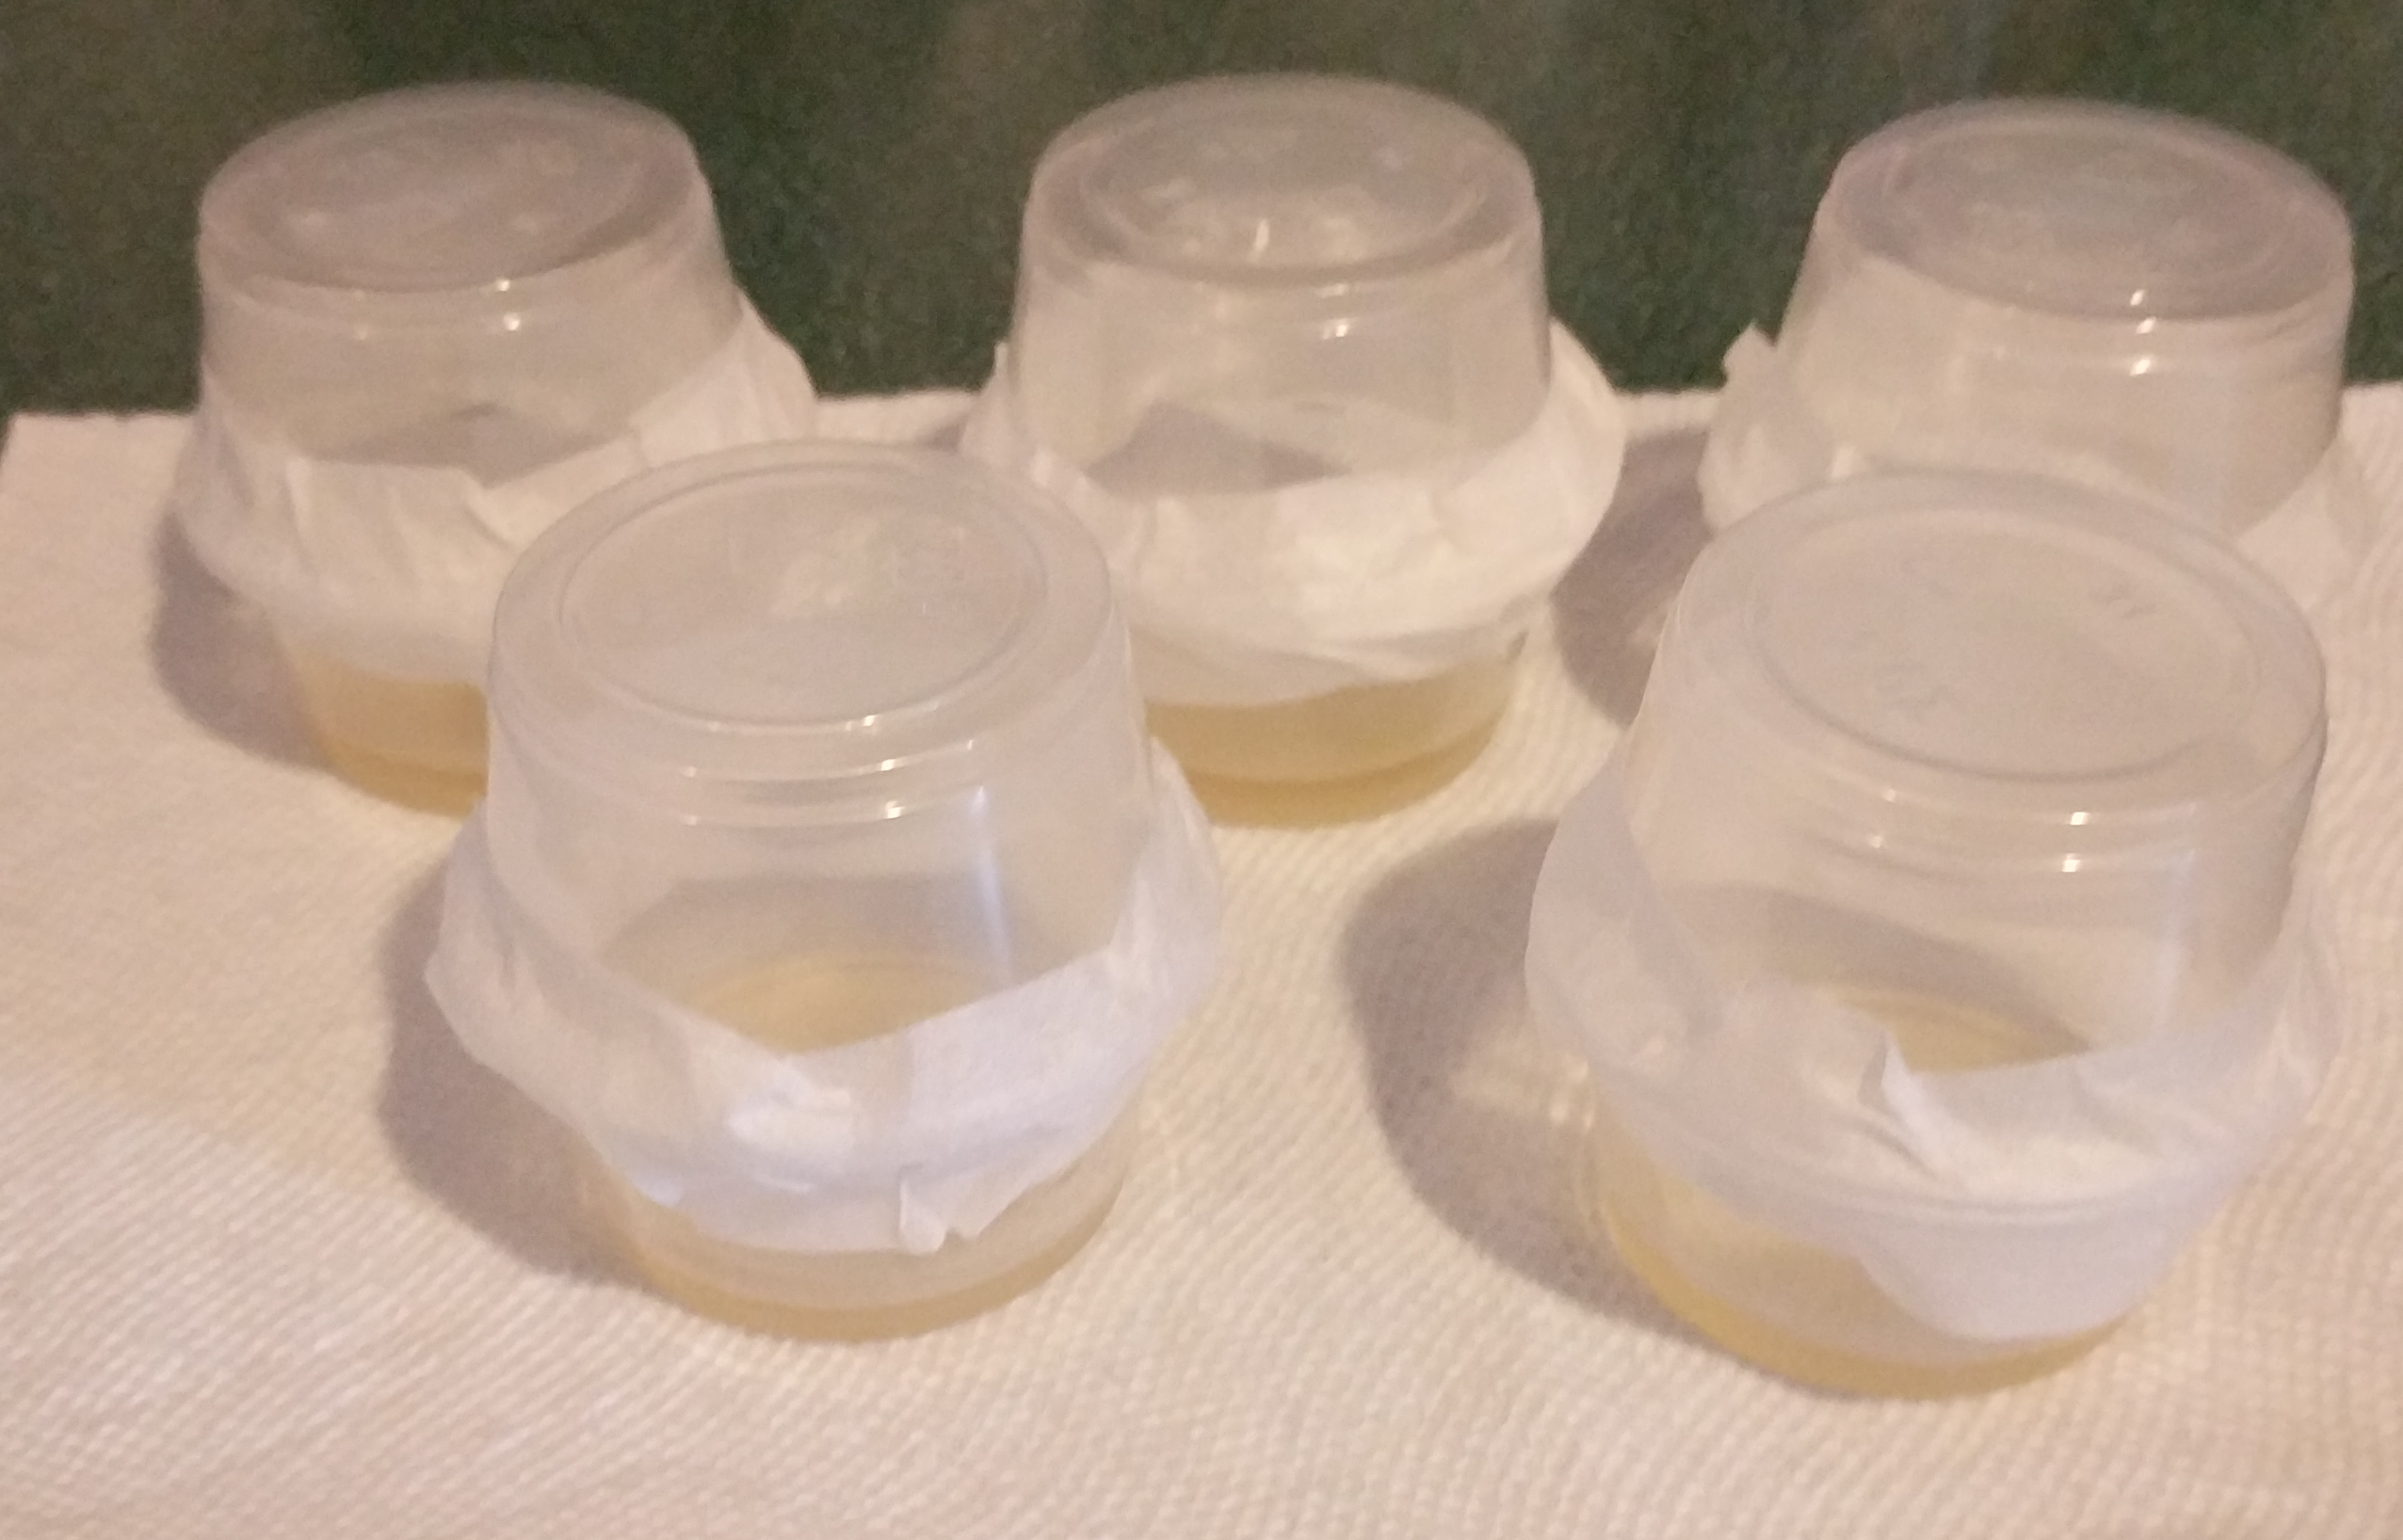
While you wait, lay out twice the number of condiment cups as you want to make. Do not use the cup lids! They are made of a different type of plastic (PET or PETE) than the cups (PP) and will melt in the pressure cooker, you will have to restart. This is why we will be using two cups taped together as I learned the hard way. You will not need lids until you innoculate the agar.
Pour the Agar
Once the agar solution has cooled, it’s time to pour it into 1/2 of the cups laid out. Pour just enough to cover the bottom of each, it doesn’t have to be precise.
Prepare for Sterilization
Flip the unfilled cups onto the tops of the filled cups and then tape them together.
Sterilize
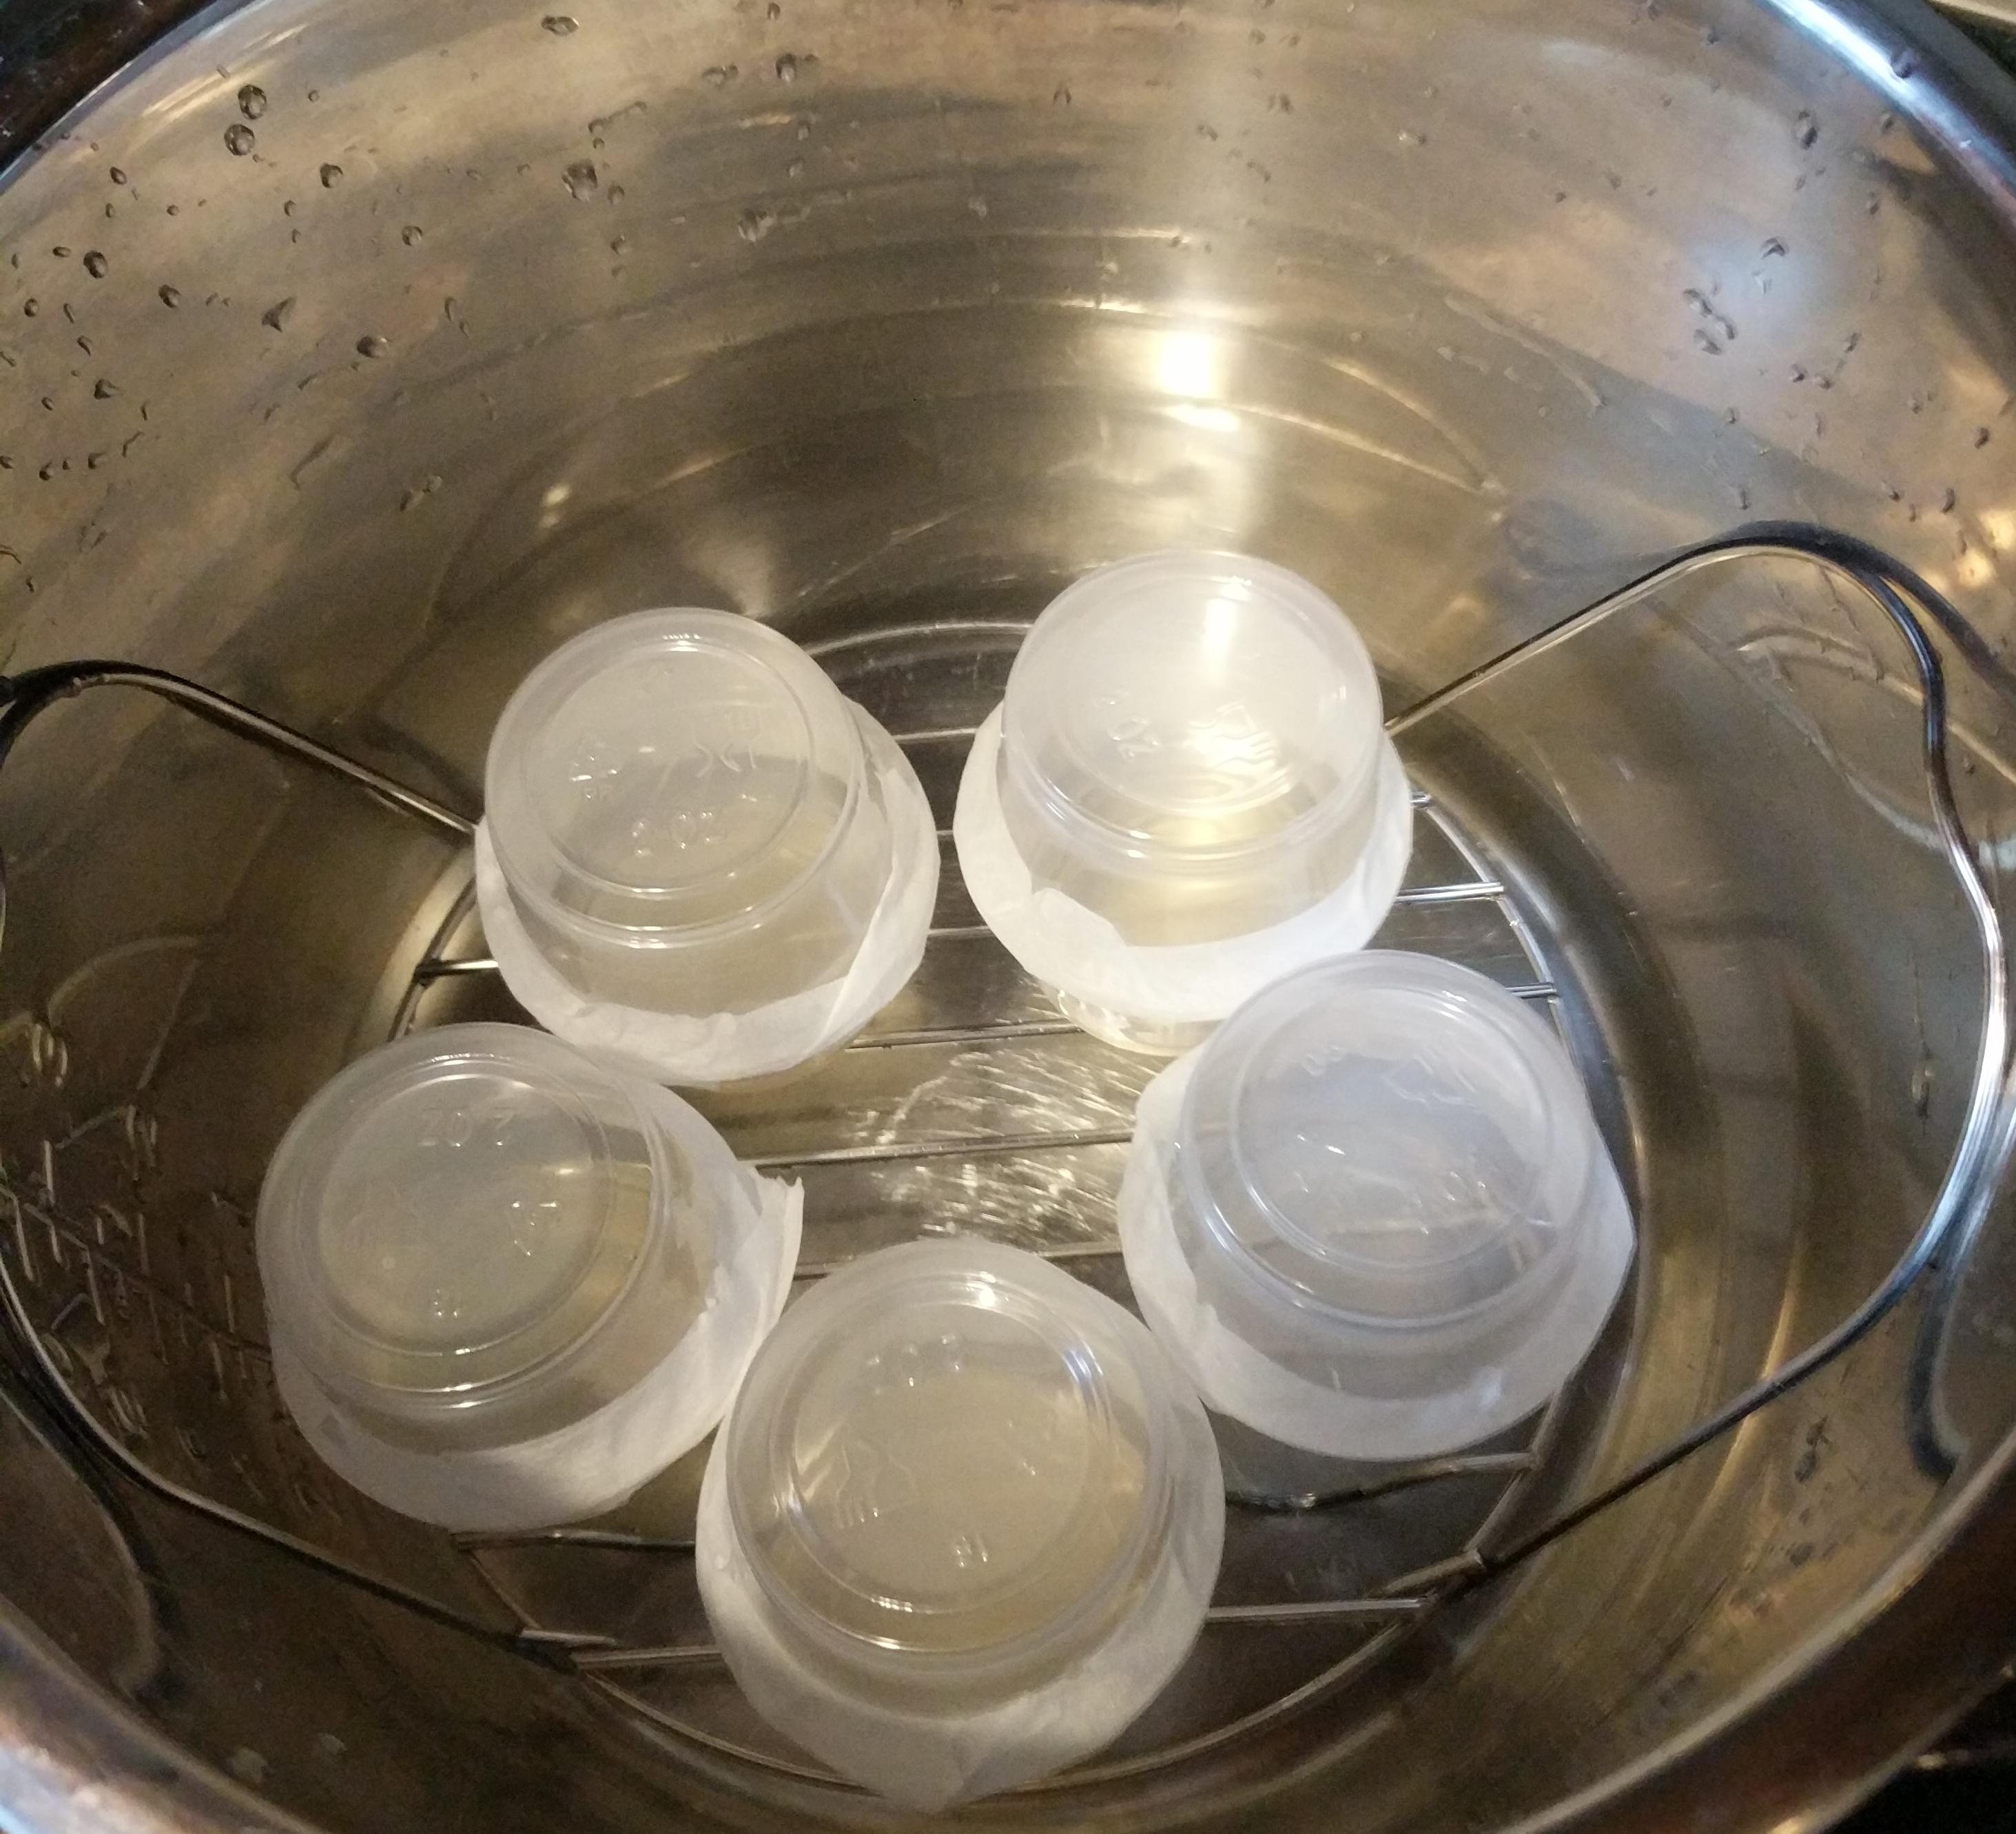
Add trivet and water to the pressure cooker, such that the condiment cups will be completely above the water when on top of the trivet. I use about a half inch of water, the steam is what does the sterilizing. Load the cups onto the trivet, stacking a few should be fine.
“Cook” at 15PSI for 15 minutes. If you don’t know how, check the manual or the internet.
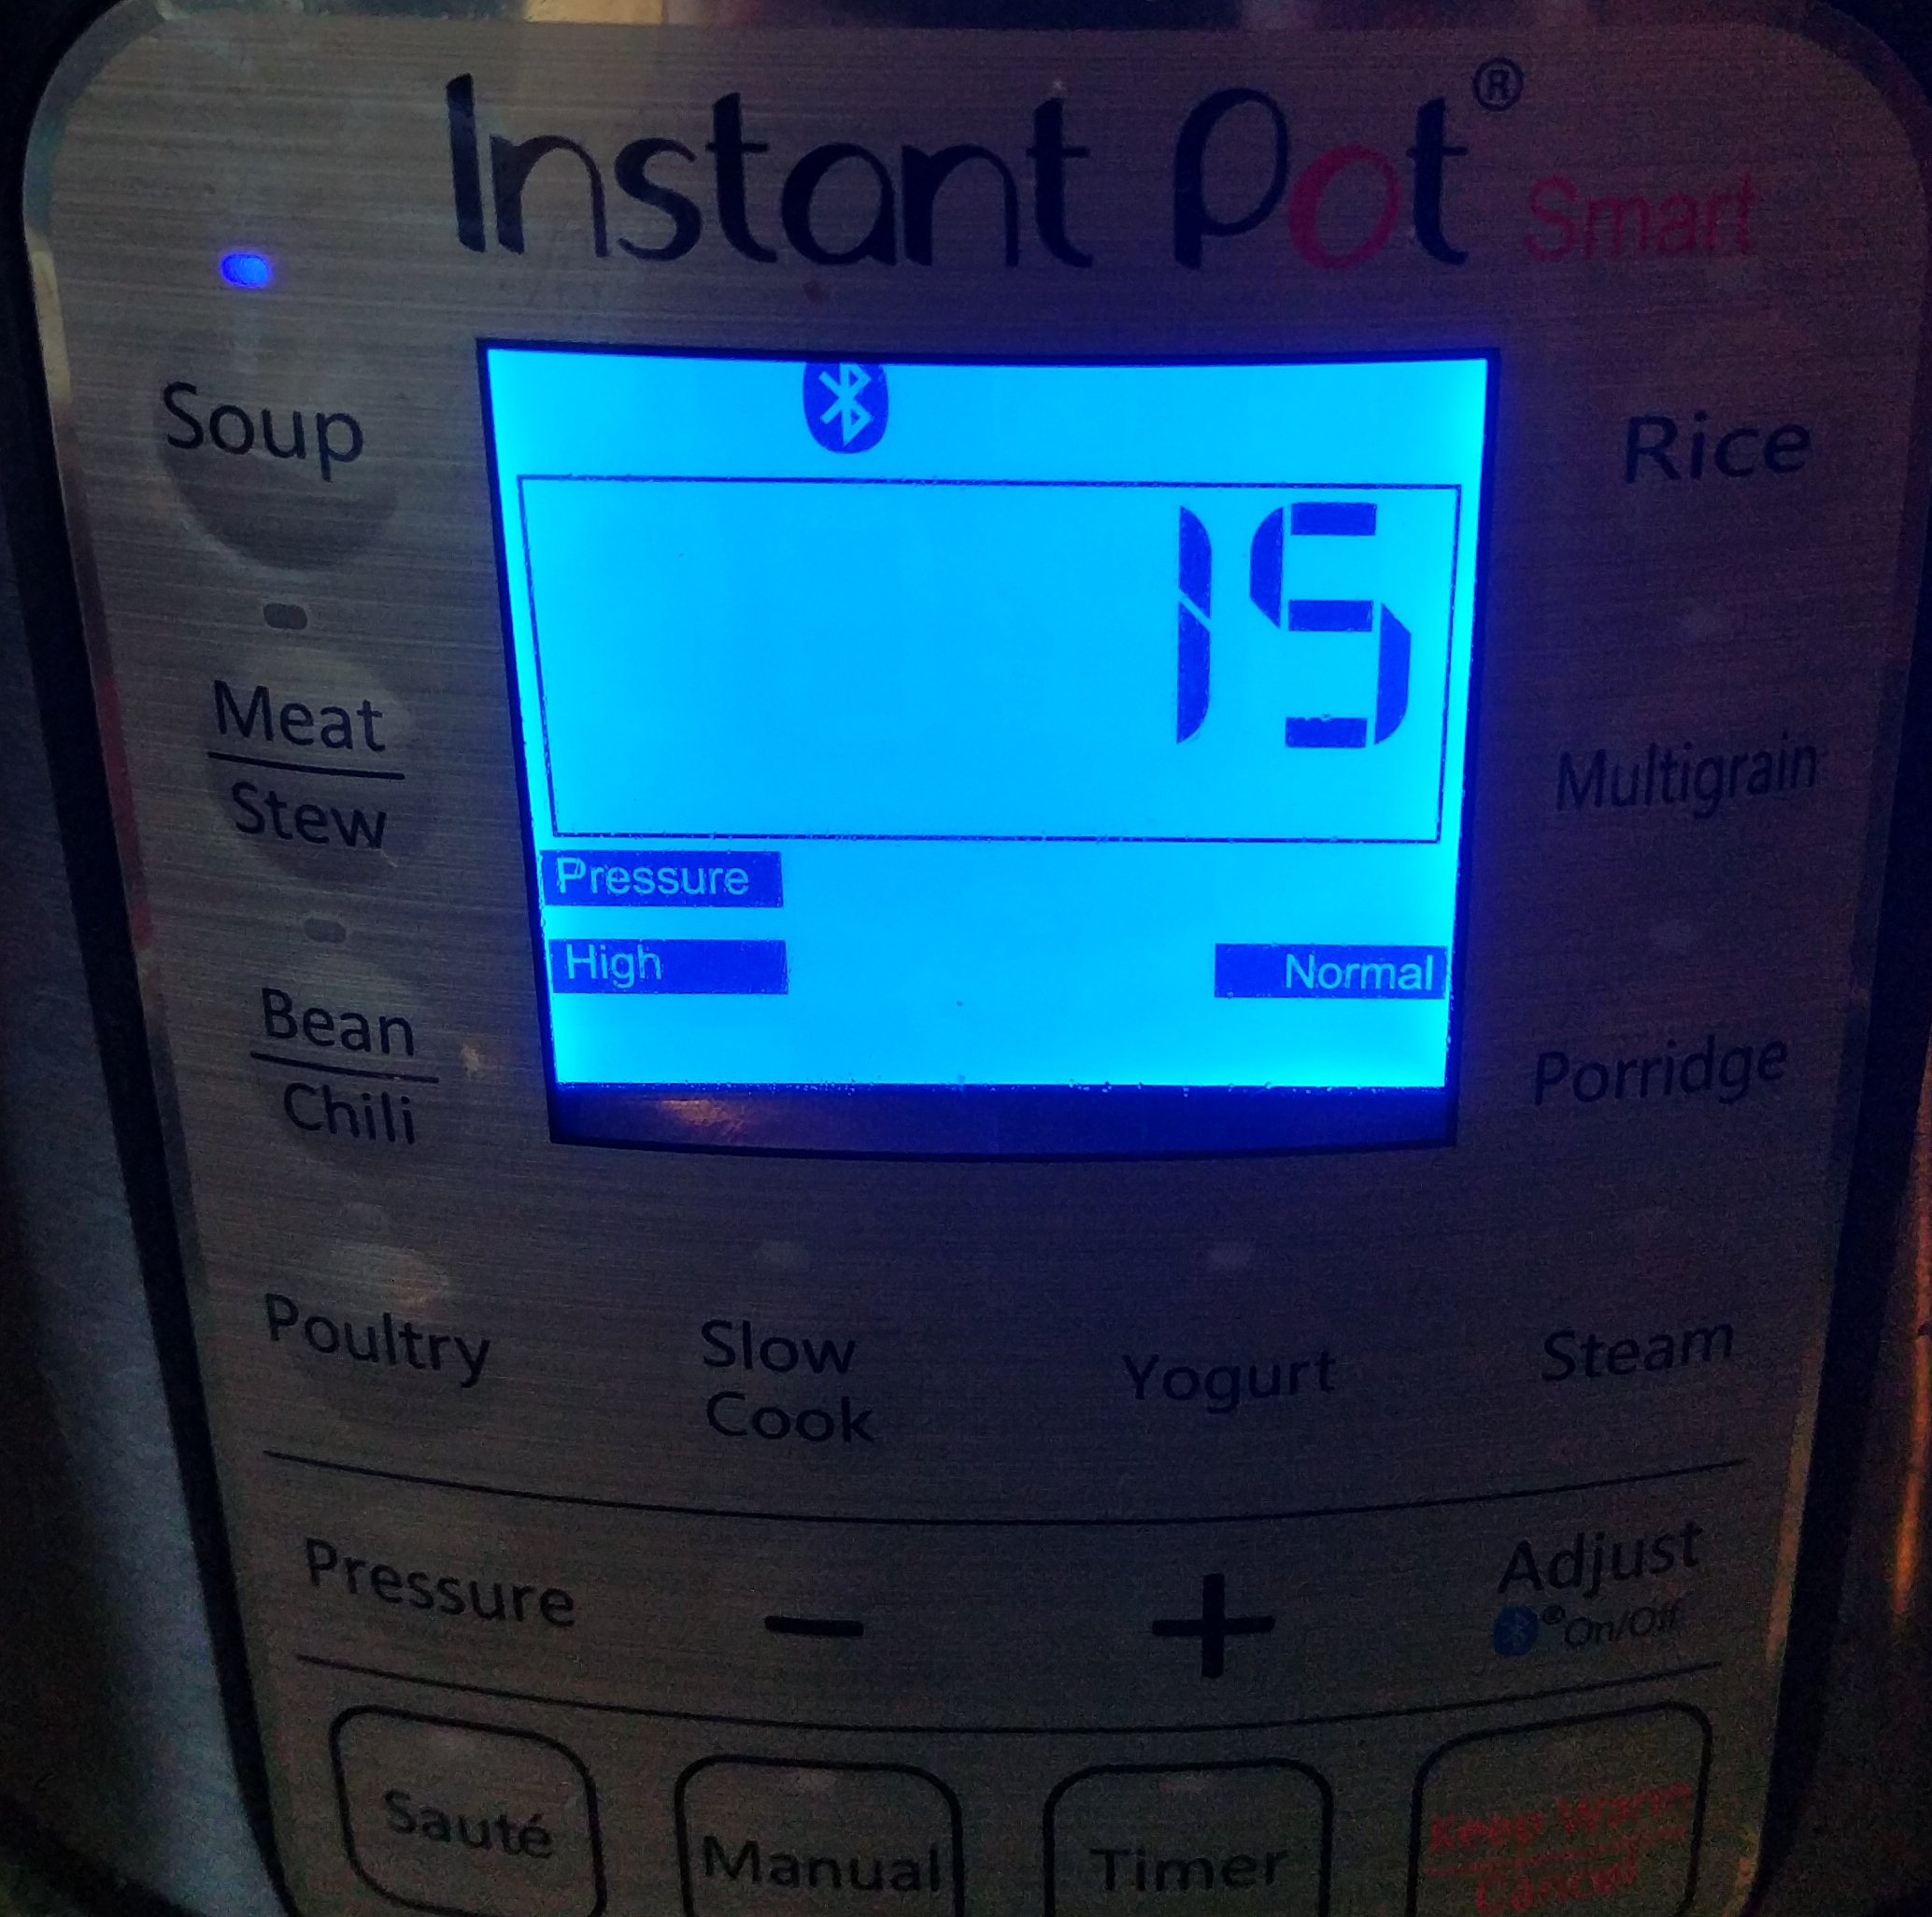
Very important: do not vent the pressure cooker. Venting the pressure cooker creates a pressure change that will cause the cups to explode. Instead, wait about 15-30 minutes for the temperature and pressure (which are inversely related, see Gay-Lussac’s law) to decrease.
Post-sterilization
Your agar plates are now sterilized. The agar will be liquid still, this is to be expected. However, the medical tape is wet from steam and I believe it is possible for contaminants to cross its barrier. It is therefor imperative to minimize the time spent in the open air. Clean some tupperware then load the cups and seal as fast as possible, try to keep the air still by not moving quickly.
Cooling
Let the tupperware of plates sit for a bit, or place in the refridgerator. When the agar has solidified, it is ready to use.
Usage
Follow sterile procedure when using the agar plates, this means:
- Flame-sterilize
paperclipsinoculation loops andx-acto knivesscalpels - Use a
plastic tubStill Air Box (SAB) or a quiet corner with the AC off that is not a bathroom - Wear gloves
- Wipe everything down with 70% isopropyl alcohol (90% can evaporate before killing contaminants), this includes the gloves
- Move slowly to avoid drafts of air
Inside the Still Air Box prepare a lid for every agar plate (close bag promptly, wipe down anything exposed to air). Peel off the tape and remove the top cup. As soon as whatever living thing you are growing has been introduced, quickly put the lid back on and label.
Conclusion
I’ve done this a few times and have only seen two cases of contamination so far, which probably had more to do with my questionable SAB setup than anything. I hope this has been useful, please let me know below if you have any questions.
Comments